
I have a spunky nephew with a thing for superheros. So for Christmas, I'm giving him a cape that I made. Here is a tutorial for how to make your own. It is easy, I promise so even if you've never used your sewing machine before, you can do it!!!
Pin It
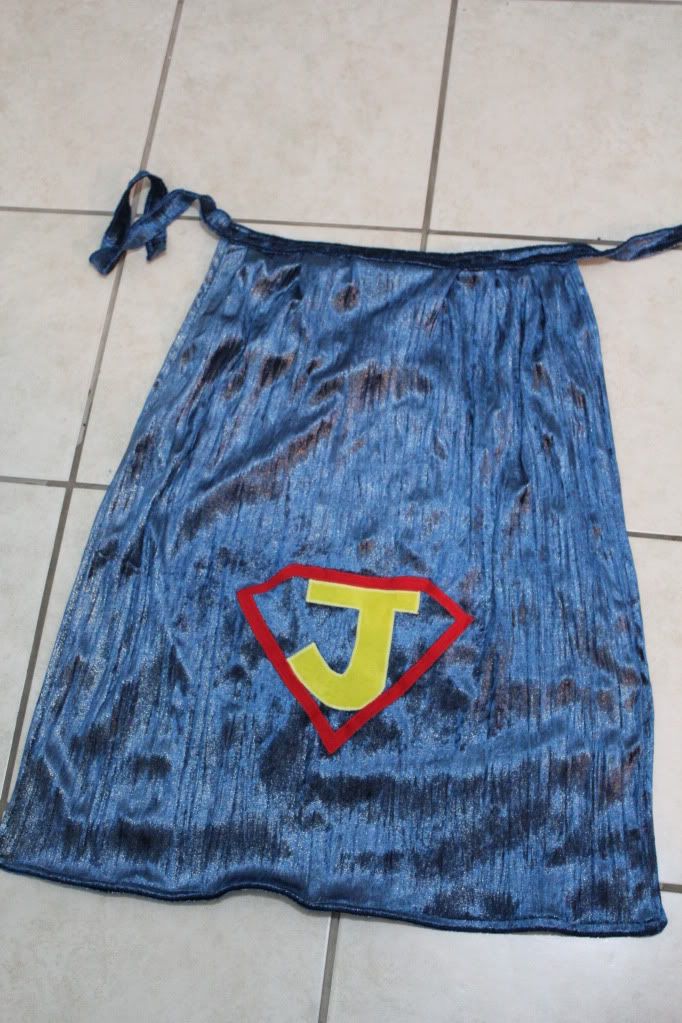
One of the main things about this cape is that it is light! That was a main requirement for my nephew's because the only real reason he likes capes is because they fly behind him when he runs. If you were making something for a child that likes the woods, or Lord of the Rings, or anything like that (Lion, Witch, Wardrobe, etc), then they may like a thicker fabric so it is heftier. So for his, I made a little red cape with a superman style marker on the back with his first initial "R".

For the tutorial, I used a thicker fabric with sparkles and the letter "J". Sorry, I don't know what the name of the fabric is, it was in the bargain bin at Joann's for $4 per yard. The red fabric was also bargain bin. Neither are cotton. The red fabric wasn't knit, so I used a regular needle. For knits, you will need a ball point needle so you don't snag the fabric. I actually am bad and used a regular needle for the blue knit, but you are taking a risk of a snag.
To Buy:
1 yard of fabric
ball point needles if you are using a knit fabric
2 different colors of felt/separate fabric to make the superhero logo
matching thread for cape and superhero fabric colors
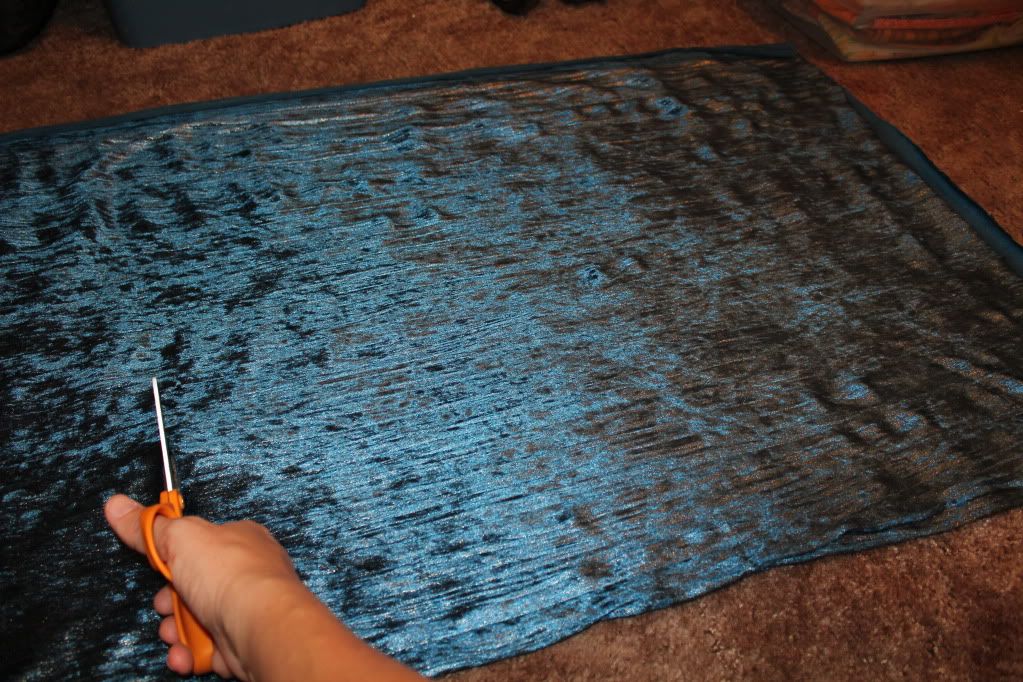
1. Lay out your fabric and iron out all the wrinkles.
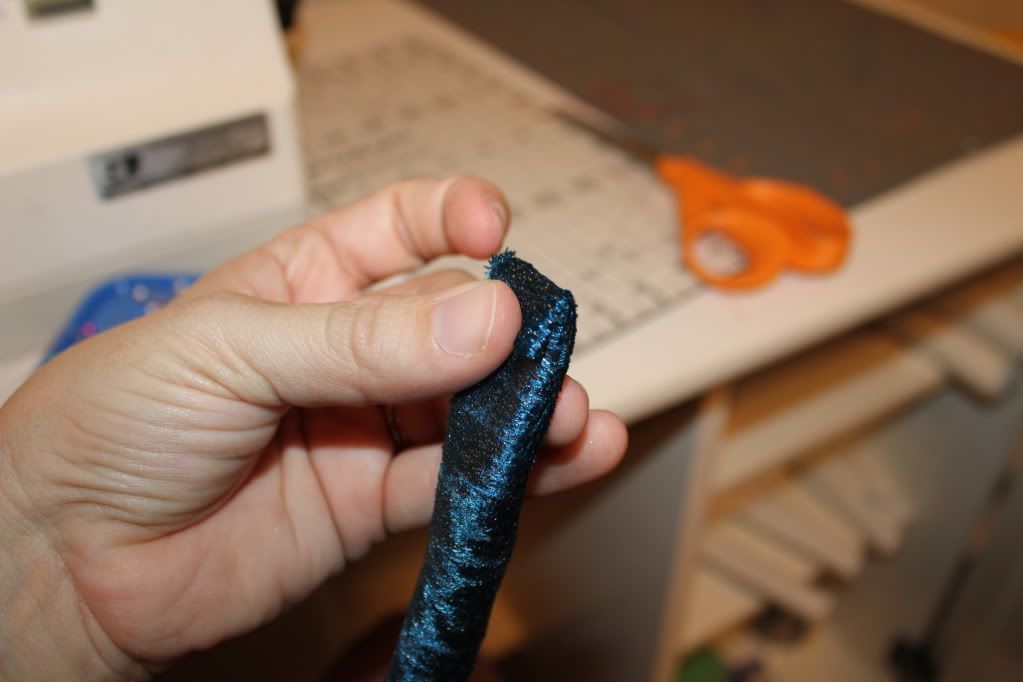
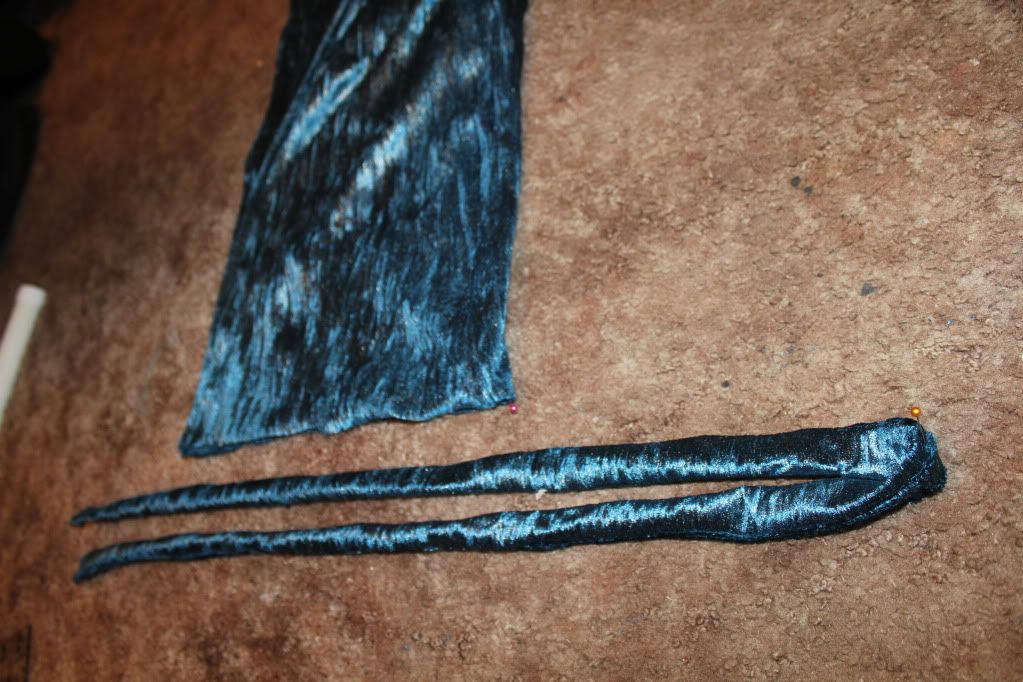
2. To make the tie, cut a 2.5 inch strip of the cape fabric.
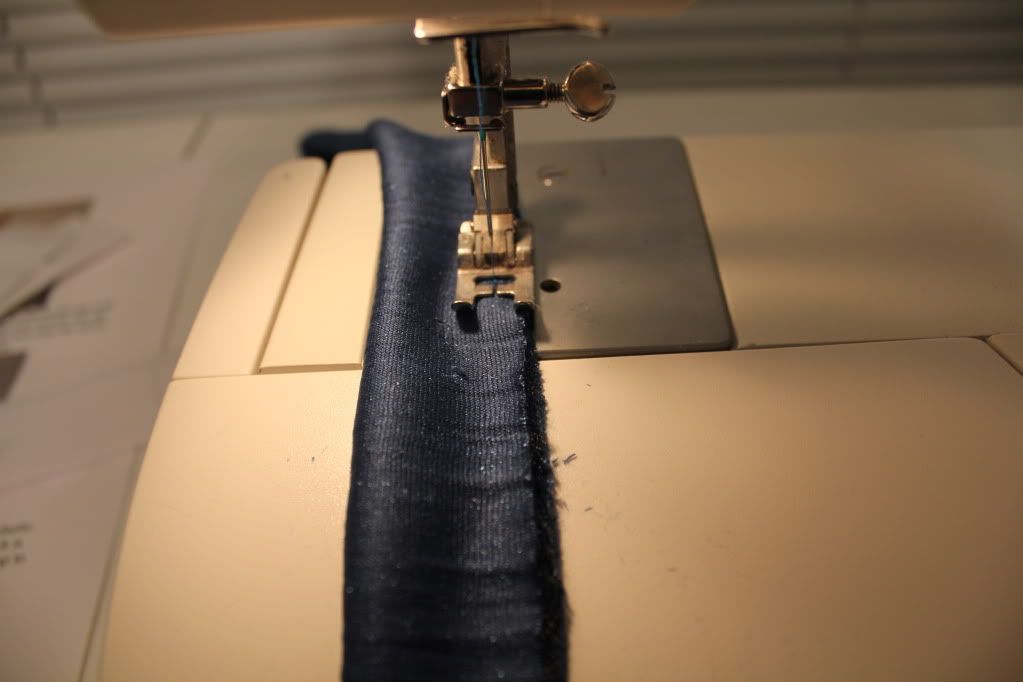
3. Fold the strip lengthwise, right sides together and iron if fabrics are slippery.
4. Sew down the folded side of the strip. We will sew down the other side of the strip when we attach the cape so that isn't necessary at this point.
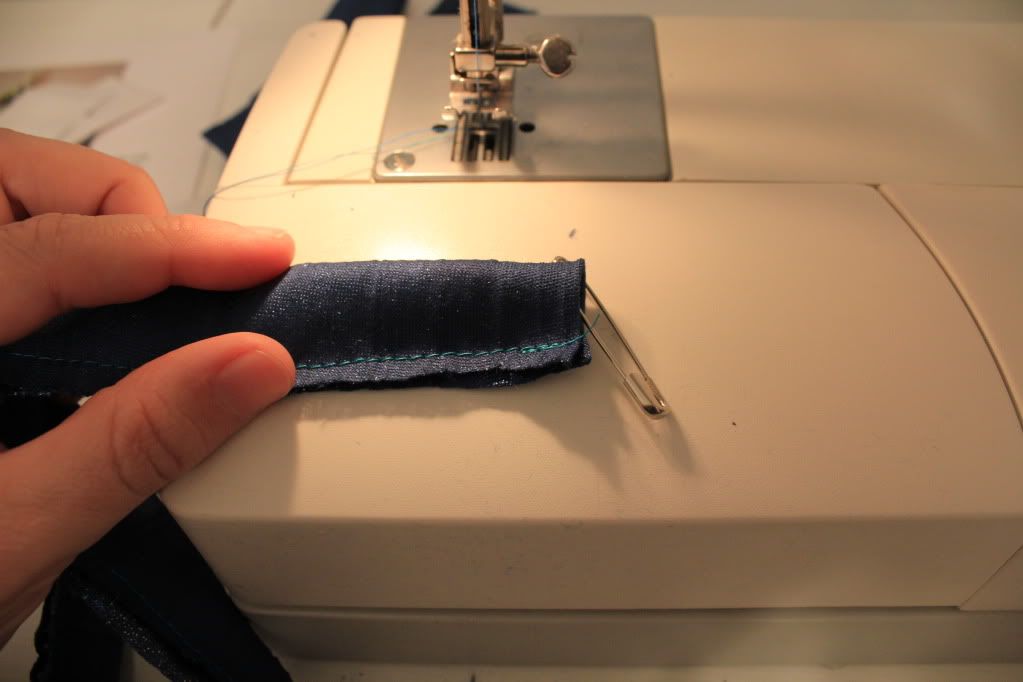
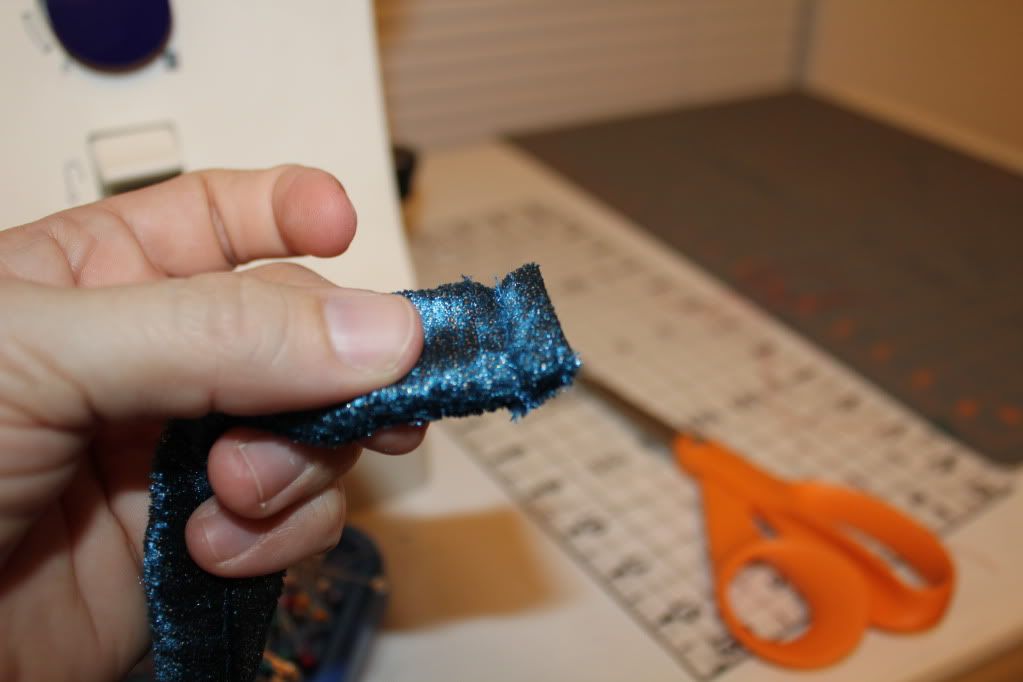
5. Turn the strip right side out by attaching a safety pin to one end and pushing it through the inside of the tube, little by little.
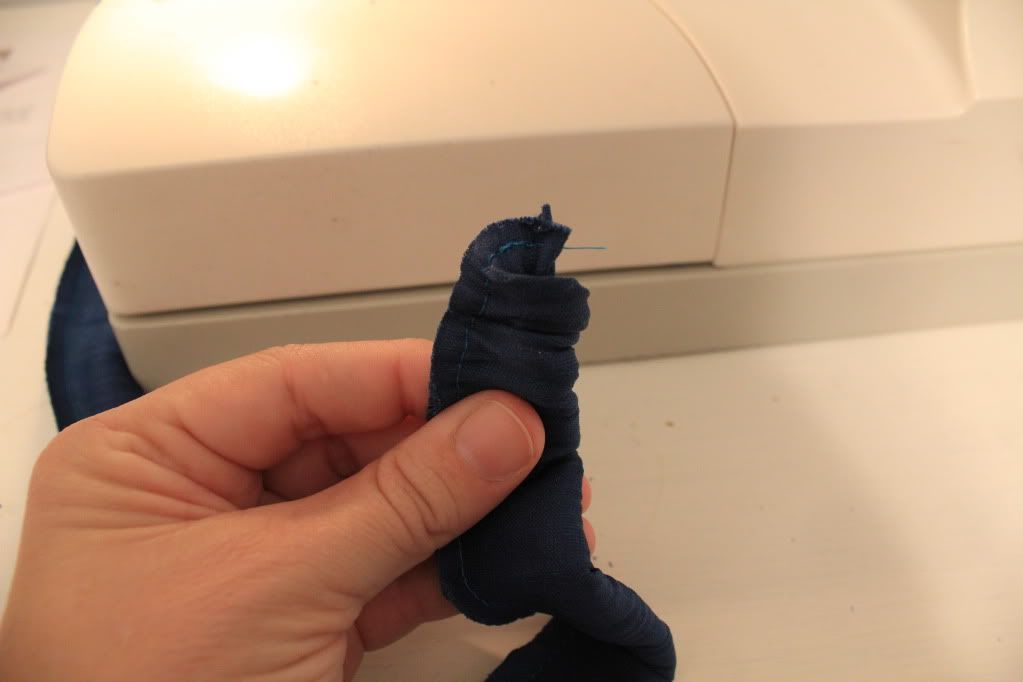
6. Fold the ends over to hide the raw edge and sew closed.
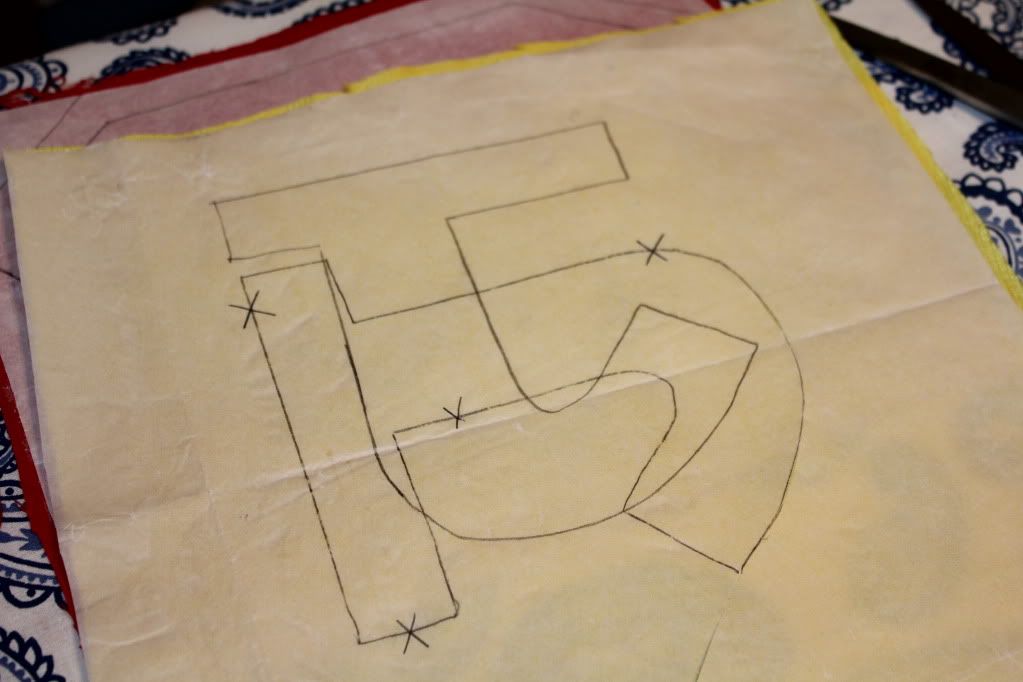
7. Set the strip aside. Next, we will make the superman logo. Freehand a diamond and then draw in your letter. Carefully cut out the diamond shape and also the letter.
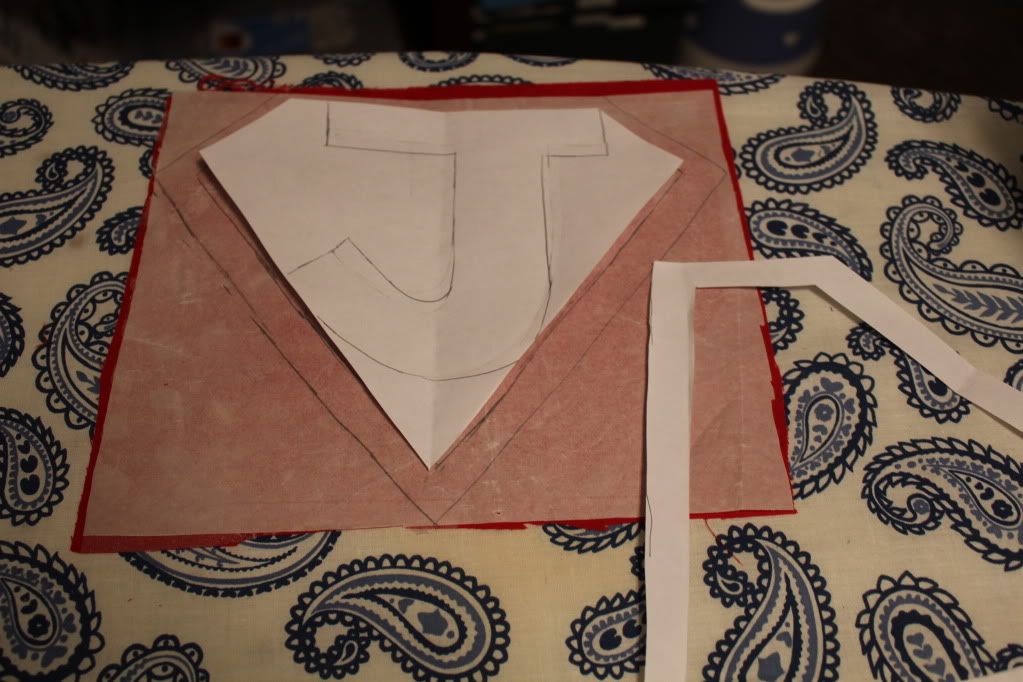
8. Iron on wonder under or another heat bond interfacing to your contrasting fabrics. This helps keep things in place when sewing. Then trace the logo shapes onto each contrasting fabric.
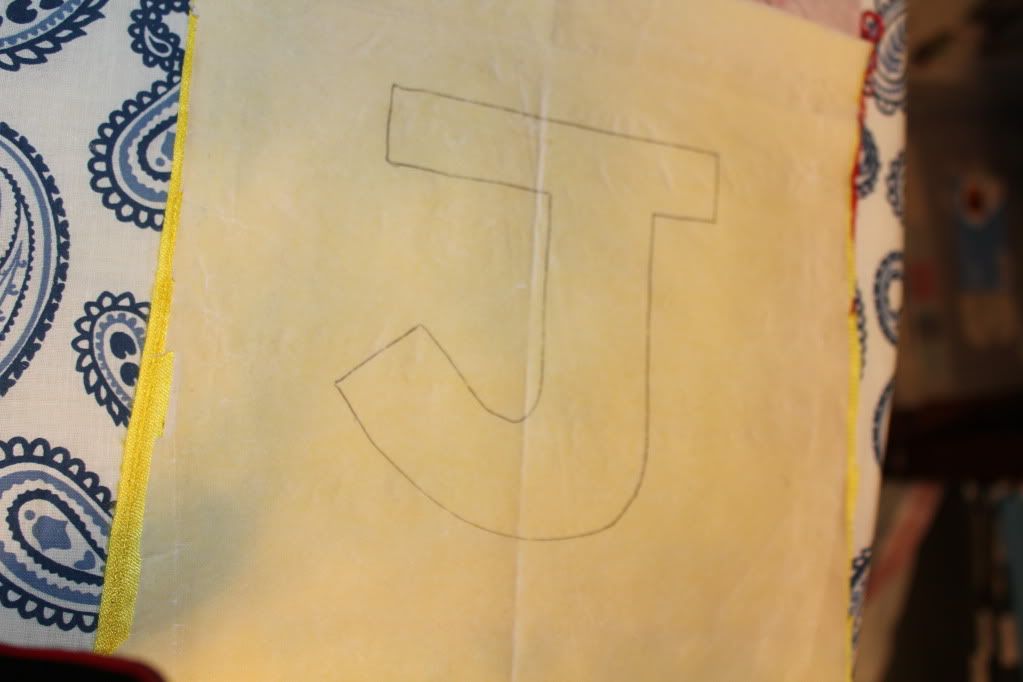
NOTE - You want to use the letter template upside down, so that from the RIGHT side of the fabric, the letter will be correct and not be backwards. See the J, and how I made a mistake? I caught myself before I got too far, but this is very important.
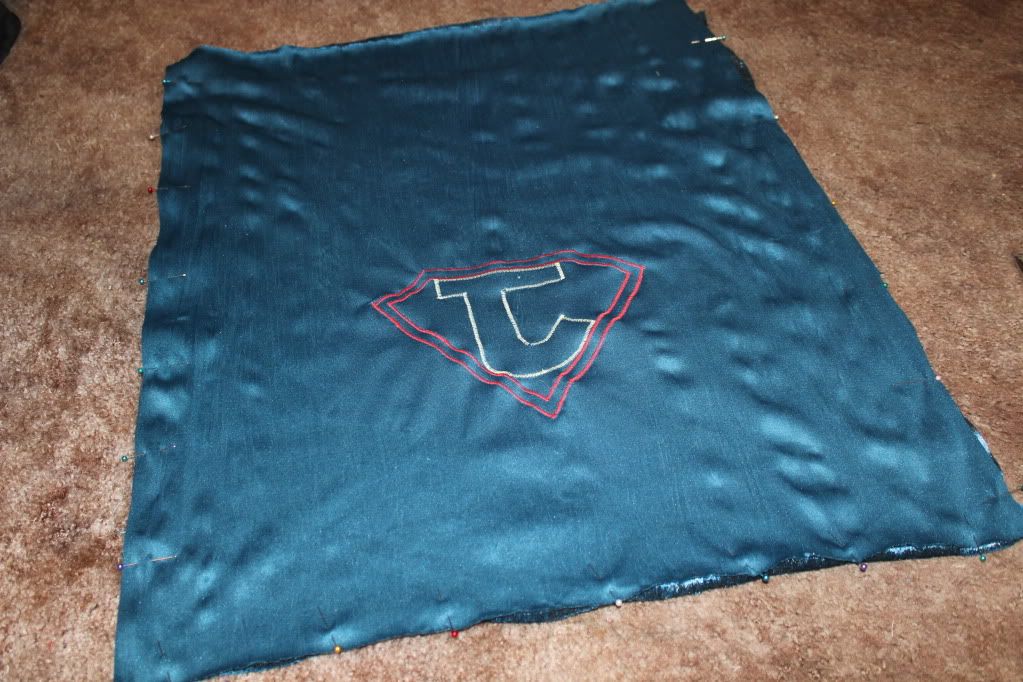
9. Cut the logo out of each fabric. Then you can lay them on your cape and find the right positioning. I wanted long capes, that would last a while for the child, so I made the capes long and put the logo near the bottom so it could be seen. For a bigger child, you could always put the logo near the top (shoulder blade height). If you don't like a pucker when you do this (see how the red cape looks when laying flat), then I would use an interfacing on the back of the fabric before you pin on the logo.
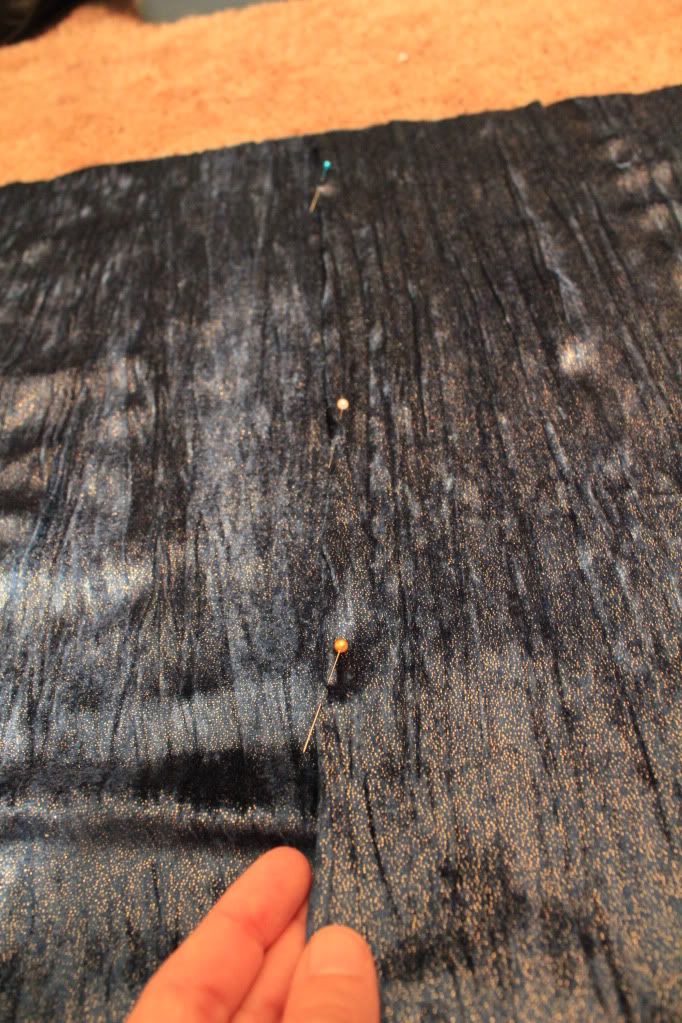
10. Get the rest of the cape fabric and fold in half, making a square shape. Then, fold one part of the fabric down, so you can find the center line of the cape to put the center of the diamond on.

Mark this line with several pins (I used 3), especially if the fabric you are working with doesn't iron well.
11. Pin on the logo to the cape in a location you are happy with. I used the pins to help me line it up straight.
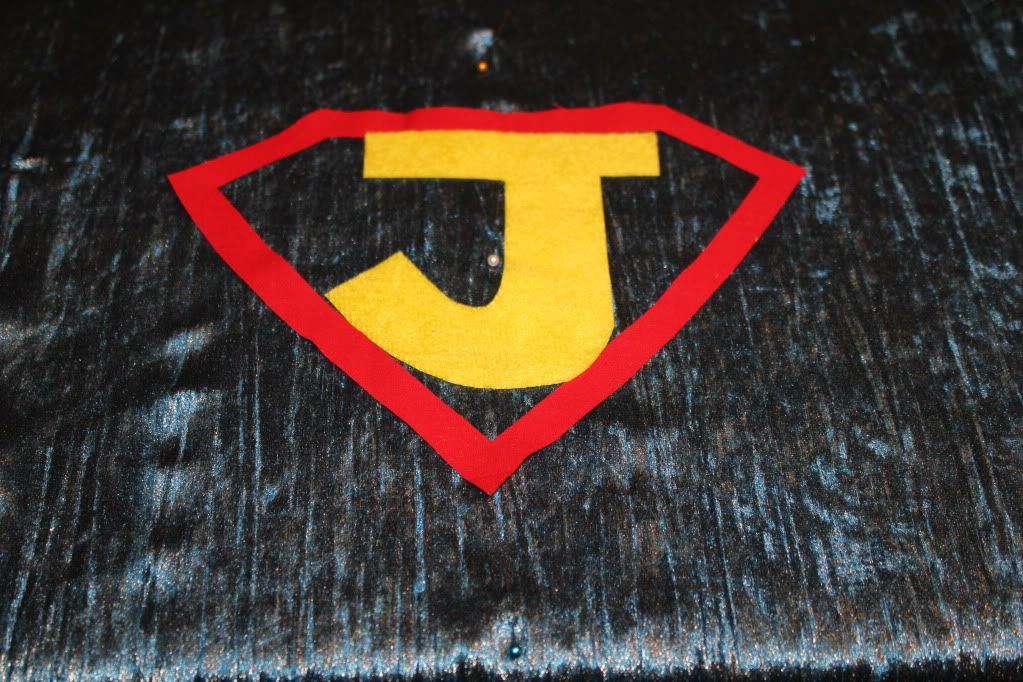
12. Iron the logo on.
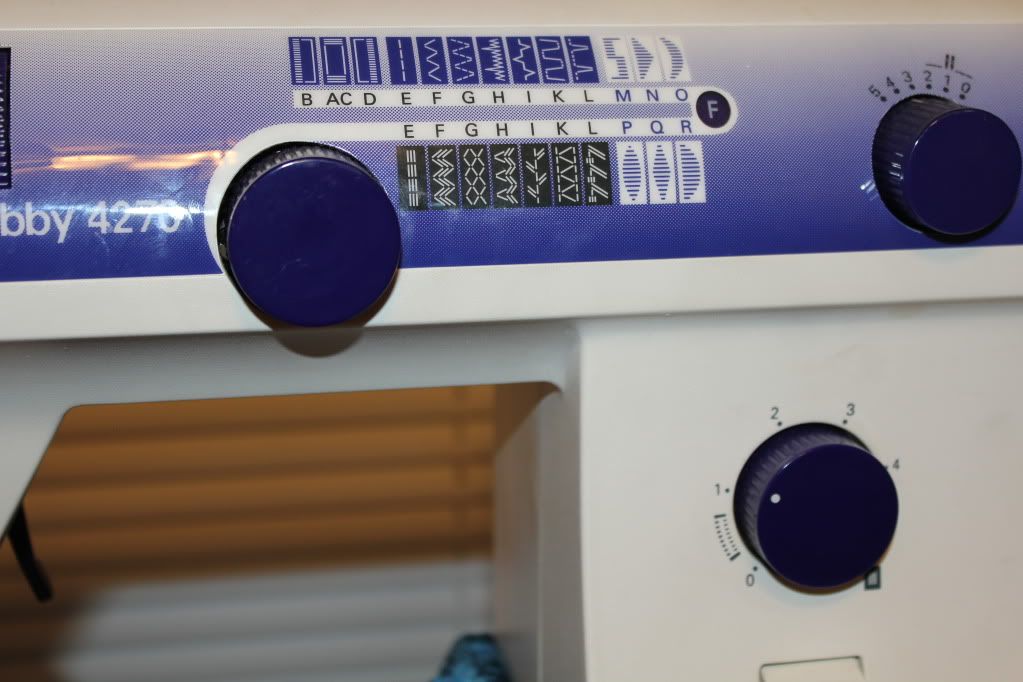
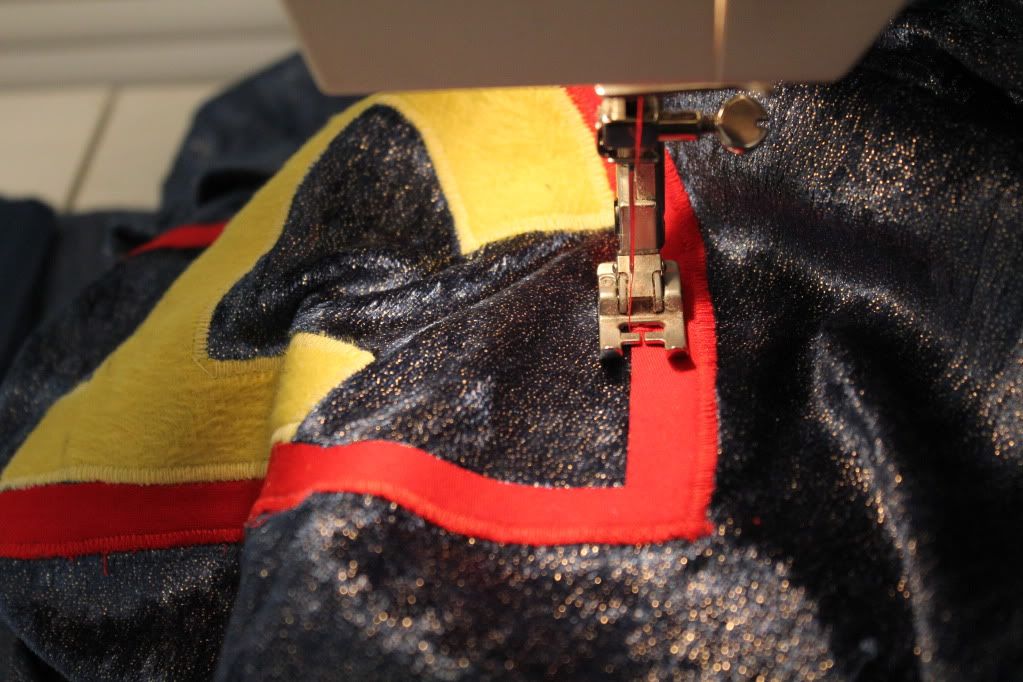
13. Sew the logo on (with or without interfacing) with a zig zag stitch. My machine doesn't have a lot of options, so I just turn the knob to zig zag, set the stitch pretty wide, set the stitch size pretty low, and try it out on a scrap before I go to the project piece. By the way, my machine is a Pfaff Hobby. I need to upgrade soon.
You'll need to switch thread colors for each contrasting fabric color you use.
I had both yellow:
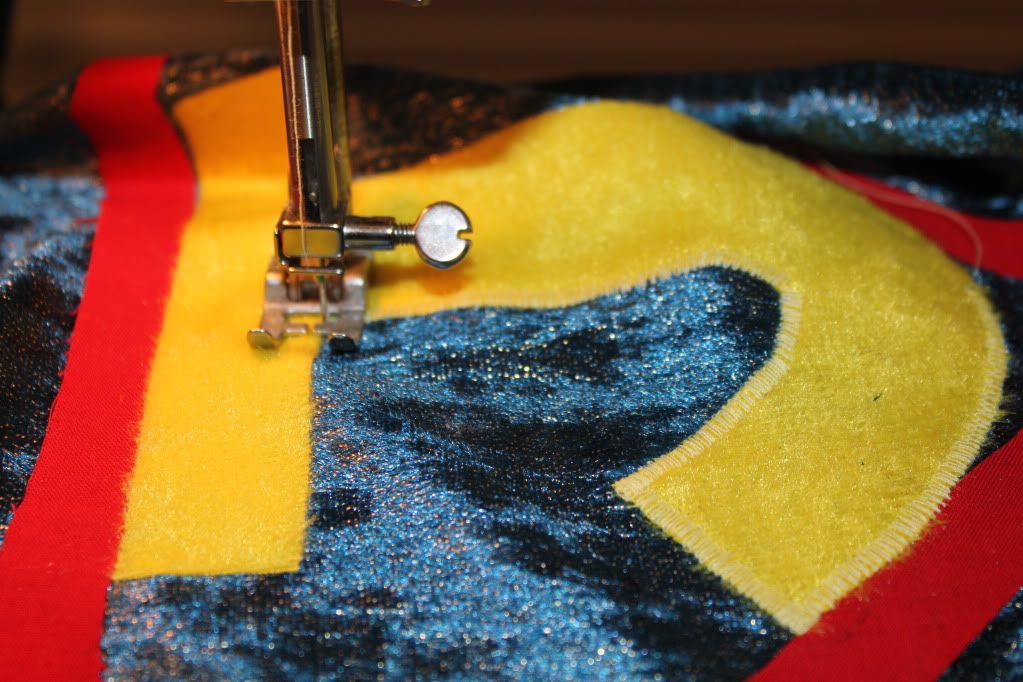
and red:
13. Now you are ready to sew the cape together. Take the cape with logo and put right sides together and sew the left side, bottom, and right sides together.
NOTE - I pinned after laying it down to be sure it would lay flat and not skew the logo.
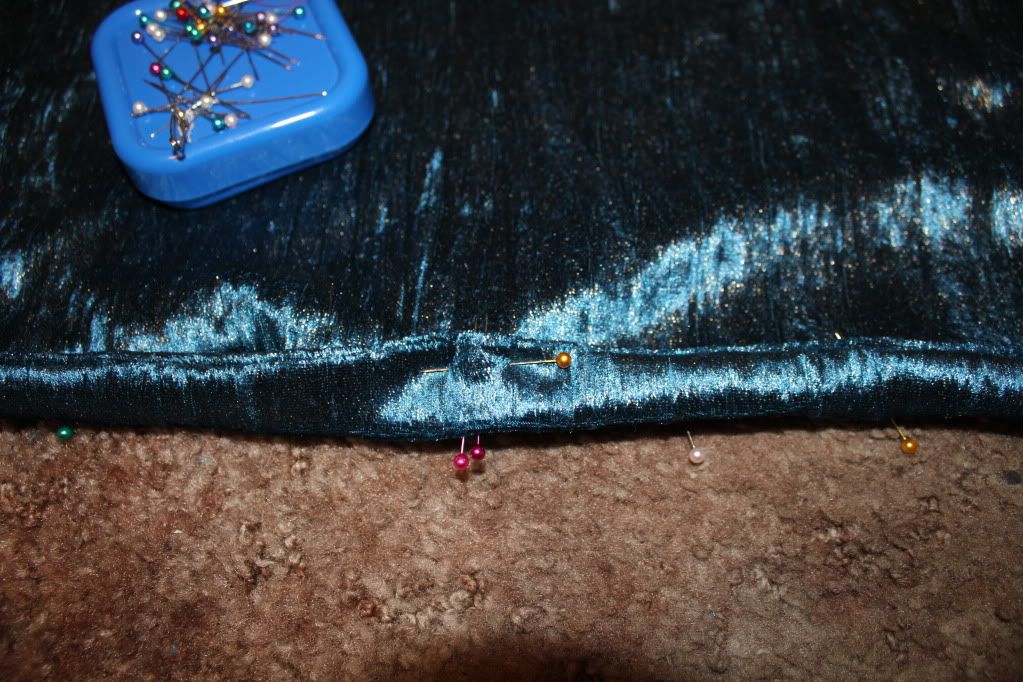
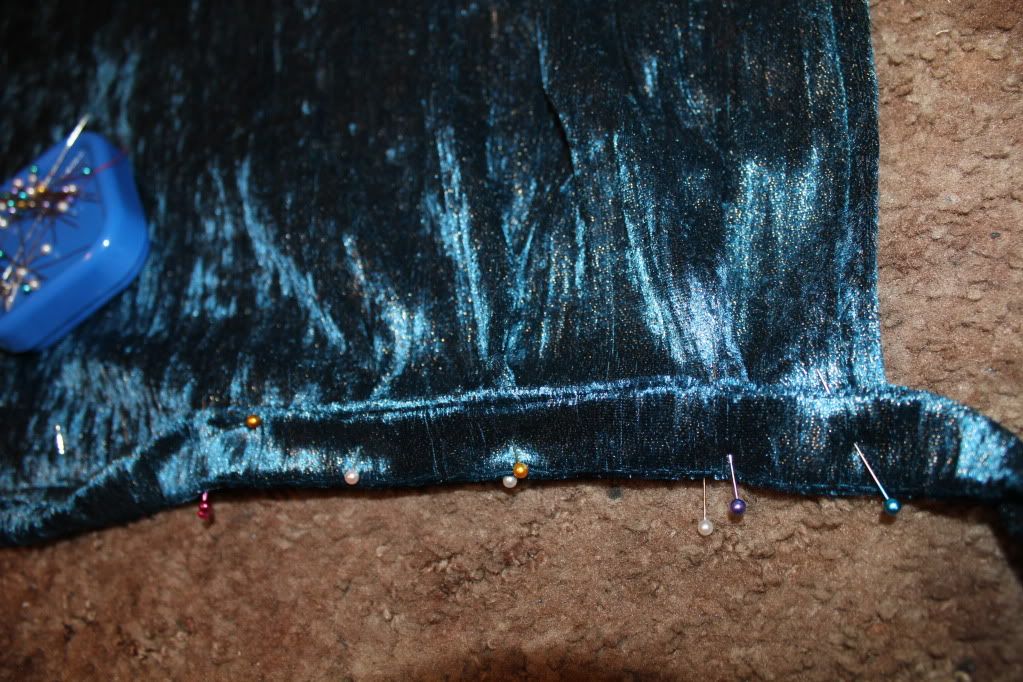
14. Turn the cape right side out. Next, fold in the top raw edges about 1/2 inch to an inch and pin.
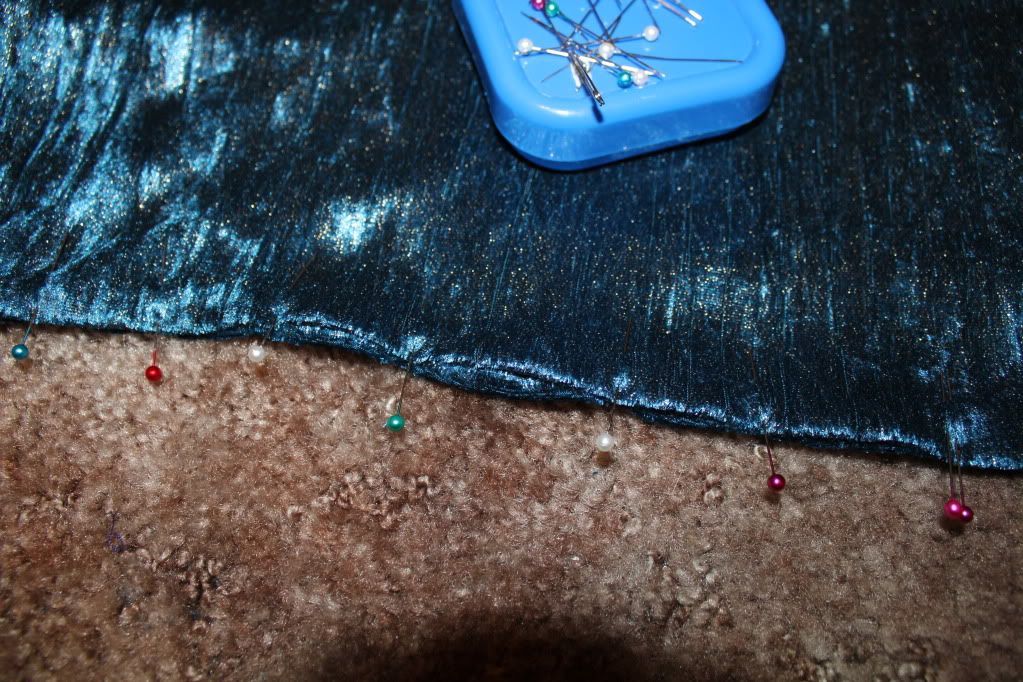
This will help you sew it closed without leaving raw edges or having to hand stitch anything. Top stitch around all three closed sides to make for a more professional finish if desired.
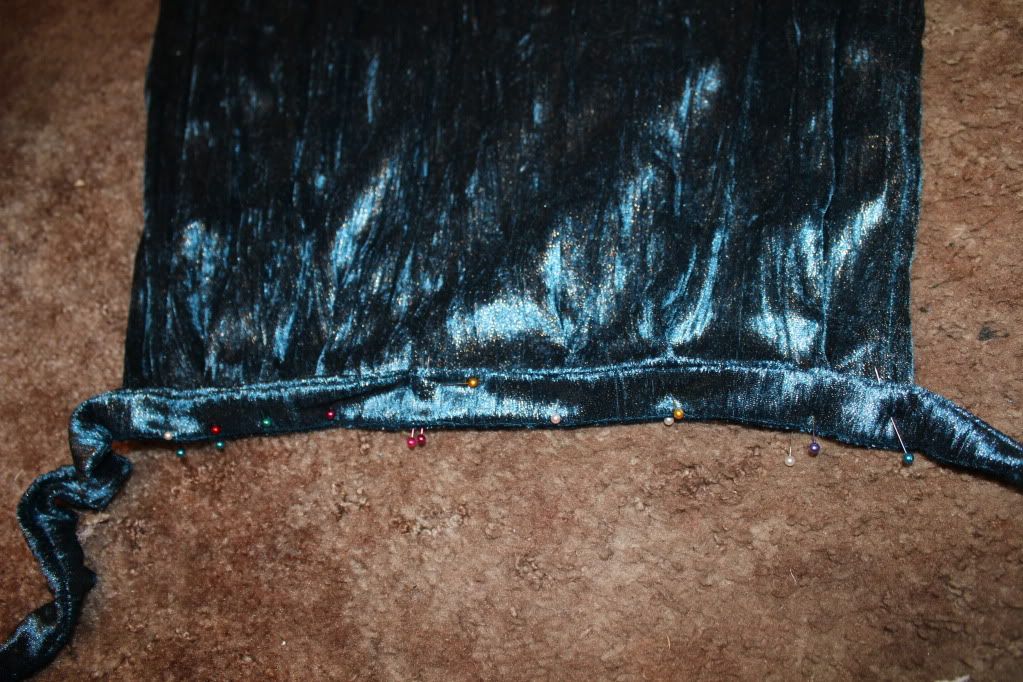
15. Next, we are going to pin the cape to the strip we made before which will tie around the child's neck. First, find the middle of the strip and the middle of the cape and pin that in place. The side of the strip that we haven't top stitched is to go to the top of the cape.
NOTE - I reminded myself which pin was at the center of the cape with a double pin.
16. Working outwards, make pleats from the center and pin each pleat to the tie. I like to do one side at a time, all the way to the end, and try to make each pleat the same width/depth.
17. At the end, compare the ends of the tie and see if it is about the same leftovers for the bow.
18. Then, sew all the way down the strip on the side you haven't sewn before.This can be very thick so sew slowly. It helps the feed dogs keep up with the needle.
19. Lastly, sew the bottom of the strip to the cape only. This is our final step.
Yay! We finished!
Did you make it? Do you have some cute other ideas for capes? I personally think this looks like a great one for a magician! Perhaps stars are in order!!! If you don't want to make this,
I also am selling capes for Halloween or gifts in my shop :)


